
| Setting up BEAM as an Eclipse project | |
Since BEAM is Open Source it come with full source code, so you are able to setup BEAM as a Java project and use, edit or extend it on your will within the limits of the GPL.
This section will guide you step by step through the setup of BEAM as an Eclipse Java Project
If you haven't installed BEAM or Eclipse yet take a look at the installation notes before you continue with this section.
/lib subdirectory of your BEAM installation directory
except "beam.jar".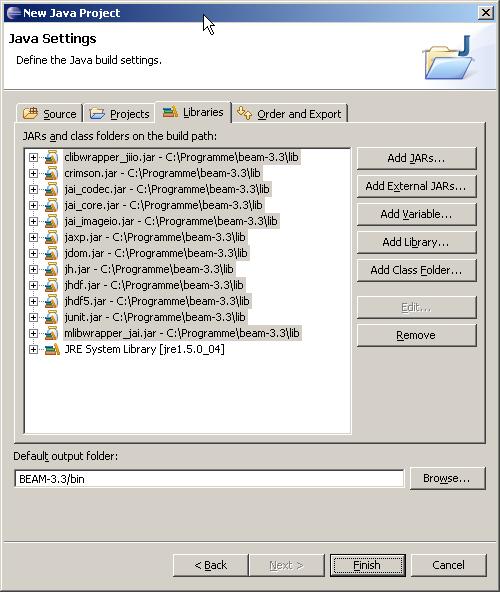
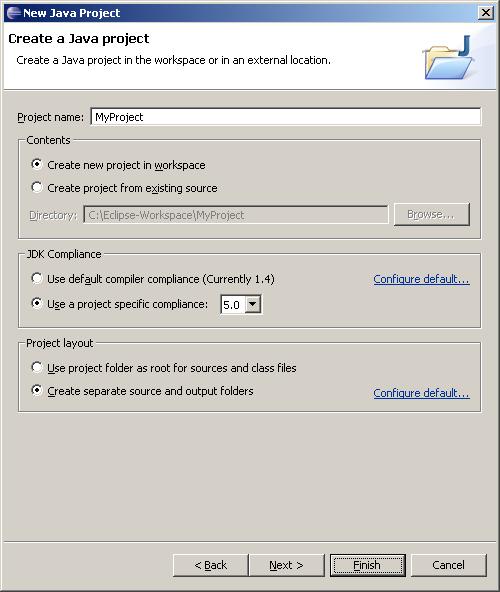
Eclipse will create a new Java project in your workbench with the subfolders /src
and /bin for the BEAM source code and the binary files. Furthermore all necessary
libraries will be included. In the Java Perspective, that should be opened now, you will only see
the source folder and the included libraries.
Note: If you are not in Java Perspective, you can open it by selecting Window > Open Perspective > Java.
Now you will have to import the BEAM sources into your project: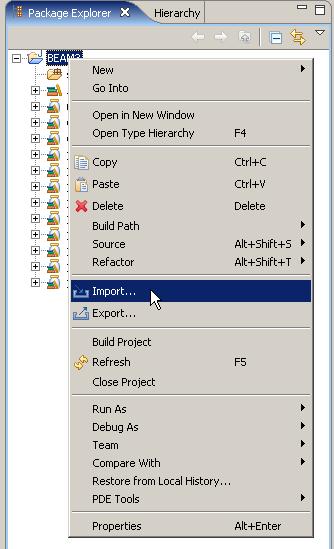
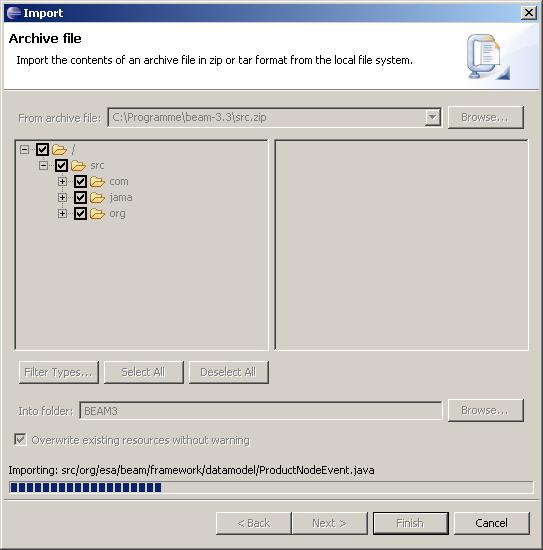
Eclipse will now import the hole BEAM source code into your project's source folder so you are able to edit exising or add new code.
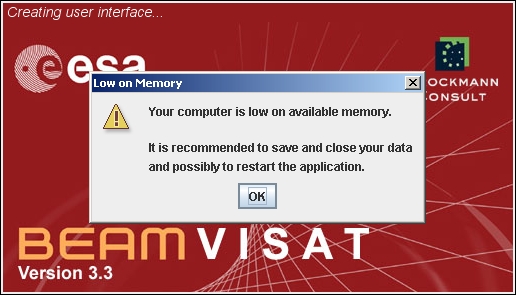
By now you can start VISAT by pressing the Run button. The VISAT splashscreen and a low memory warning will appear. VISAT will start after you have confirmed the warning.
You can avoid the low memory warning with a little change in the run configuration. Open again
the run configuration (by clicking Run > Run...) and select the tab Arguments. Enter -Xmx256M
into the field "VM arguments" and apply the changes.
Note: The number behind -Xmx specifies the maximal amount of
memory in megabyte that is allocated for VISTA during runtime. The amount of available memory
depends on your hardware and the programs you are currently running.If possible you should allocate
512 Mb or more.
To ensure that VISAT will run correctly and will find all needed libraries stored in various
subdirectories of the BEAM home directory you should add the following variable declaration to your
"VM Arguments" field: -Dbeam.home=C:\eclipse-workspace\beam3
-Dncsa.hdf.hdflib.HDFLibrary.hdflib=C:\programme\beam-3.3\bin\jhdf.dll
-Dncsa.hdf.hdf5lib.H5.hdf5lib=C:\programme\beam-3.3\bin\jhdf5.dll
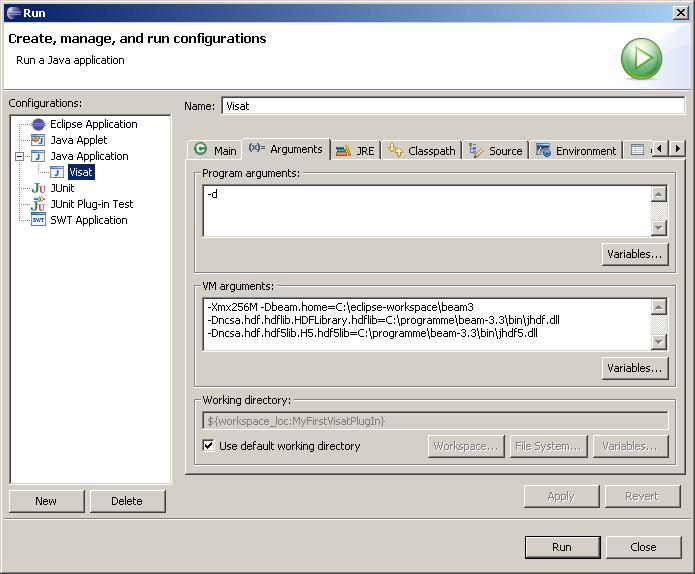
Enter -d into the "program arguments" field to start VISAT in debugging mode.
Note: The VISAT debugging mode provides status- and error-messages that will be displayed during runtime in the Eclipse Console. This feature can be very useful for testing and debugging your plug-in.
Apply the changes and start VISAT again. No warning will appear anymore. You can now take a look at the Eclipse Console to see the VISAT status-messages.
Return to the MAIN PAGE